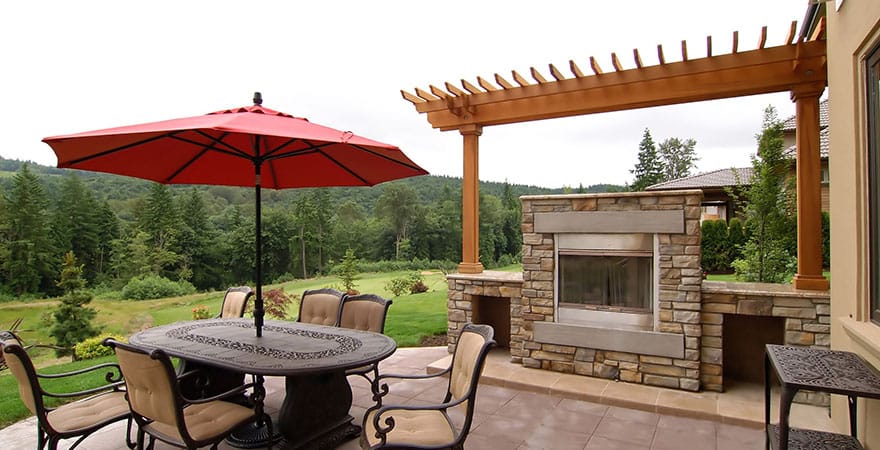
How To Repair A Sinking Stone Patio
Home Improvement July 5, 2022 No Comments on How To Repair A Sinking Stone Patio 112A sinking stone patio is not only visually unappealing but also dangerous to walk on. Patios sinking after a few years is a common occurrence in households due to uneven soil drainage. Apart from tripping hazards, sinking patios leave you with large puddles of water. Backyard patio builders advise repairing them as soon as possible. So, let’s take a look into how you can repair a sinking stone patio to make it return to its original state.
Assess The Problem
The first step of repairing a sinking stone patio involves assessing the problem so that you are aware of the root cause of the problem and do not go digging into something that isn’t the actual issue. There could be several reasons contributing to sinking patios but the most common tend to relate to drainage issues. In this case, you will need to remove the pavers, and the bedding layer and then add some gravel and sand.
Furthermore, it is not necessary for patios to sink in just one particular area. It might be that the patio has several sunk areas that need to be fixed. This means that you will have to be thorough while assessing the problem. The reason is that if you don’t, you will simply end up wasting your time and effort in the long run as the same problem will pop up again.
Pull Up The Paving Stones
Once you have assessed the problem, you need to pull up the paving stones at least 12-16 inches past the sunken area from all directions. If the stone patio is several years old, you can expect some struggle while pulling the paving stones. Don’t use too much force or a tool that can damage or crack the stone.
We recommend using putty knives as they allow better access and have a wider surface area making it easier to lift the stone. Now that the stones have been pulled, assess the condition of the soil as well as the bedding layer.
Remove Your Bedding Layer
In this step, you will need to remove the sand from your base. Make sure that you leave enough sand around the perimeter as a point of reference. While you are removing the sand, scrape and moss the sand off the exposed perimeter. This will allow a tight seal when you re-lay the pavers.
Replace The Base
Moving on, you will need to replace the base by filling gravel and using your hands to tamp it back to its level. You will need to tamp the gravel a few times until it settles down properly. Once the gravel has become leveled to the hardscape, you need to add concrete sand. However, this time you are not going to use your hands but instead use a trowel.
Re-Lay The Paving Stones
Now, begin re-laying the paving stones. Keep in mind that this step is a bit tricky and you will need to put in some time and effort to ensure paving stones are installed properly. Make sure there are no gaps between the stones and use a tool to tamp them into place.
At the same time, the stones should be in their right place and position, which will help maintain the original look of the patio. If the stones are laid carelessly, you will end up with a gap that will become harder to fill as there won’t be any stones left. So, you will need to pull the stones back up and re-align them properly.
Plus. Knock the stones before laying them to loosen the dirt and dust, increasing the interlock.
Tamp And Sweep
Finally, tamp the stones until they form a tight bond with the bedding layer. The paving stones need to be compacted to prevent the area from sinking again. Then, spread and sweep some sand across the repaired area so that any gaps could be filled. Tamp the sand using a tool until the joints cannot hold any more sand. And enjoy your newly replaced patio.
Final Word
Concluding, repairing a sunken area can be complicated at first. However, following the steps mentioned above, you will get your patio in smooth shape soon. You can also consult patio contractors Long Island to repair your stone patio.
fix stone patio patio contractors repair a sinking stone patio stone patio care stone patio maintenance
Author
Related Articles
Lates Artciles
How Do I Keep My Hair From Curling After I Straighten It
September 14, 2022
Variation of Chocolate Truffles to celebrate your special occasions
June 3, 2017 Tips to increase the longevity of your HVAC systems
November 30, 2017 What Are The Best Balayage Colors For Black Hair?
September 21, 2023 Everything explained about modern hair transplant techniques
June 21, 2017 5 Reasons Of Constantly Waking Up At Night
September 18, 2025 Real Estate DC: Things You Should Know When Buying A House For The First Time
December 18, 2018 7 Deck Building Tips You Should Know
November 21, 2023


Leave a comment